Imagine yourself deep in the wilderness, enveloped by pristine natural beauty. This connection with nature offers a truly unique experience, and it’s during these moments that outdoor cooking takes on profound significance.
Cast iron cookware has become the cherished companion of outdoor enthusiasts, valued for its unmatched durability, versatility, and heat retention. This multi-purpose tool excels at frying, baking, grilling, and simmering a wide array of dishes, from hearty stews to delightful cobblers.
Its adaptability allows you to streamline your gear, as one well-maintained cast iron skillet or Dutch oven can serve multiple purposes on your wilderness adventures.
Dutch ovens are a favorite among campers and hikers due to their useful design, allowing for various cooking techniques, from baking to stewing. A well-seasoned Dutch oven lets you create culinary wonders in the heart of nature, rivaling home-cooked dishes.
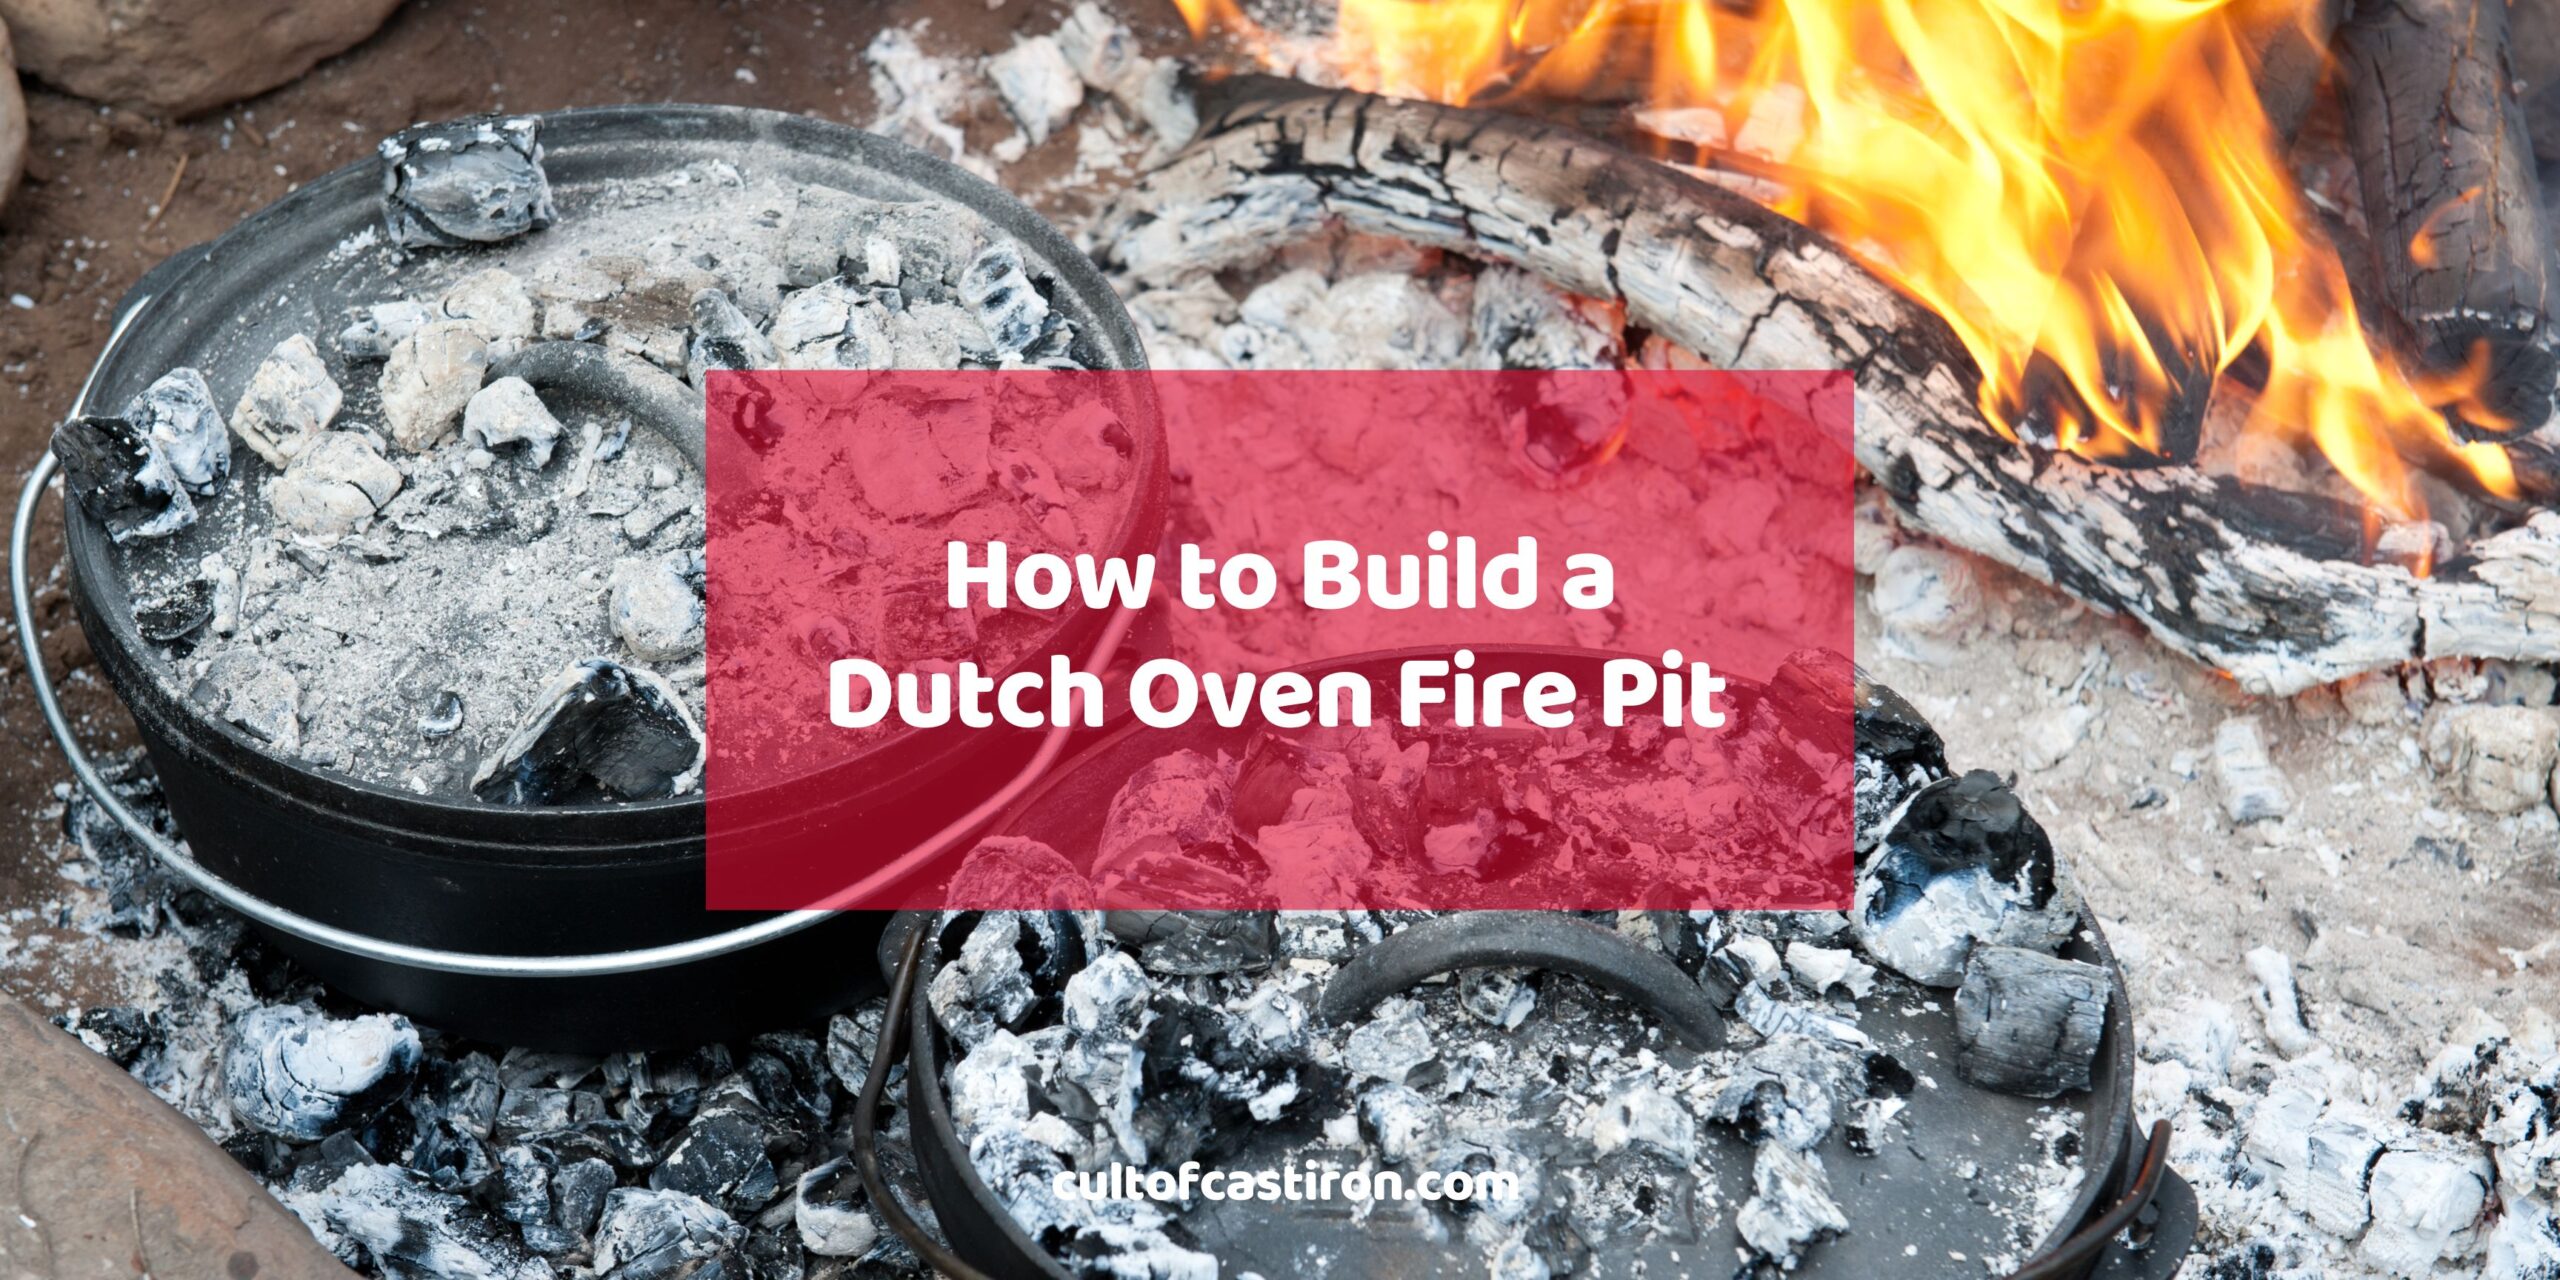
However, before you use your cast iron, you’ll need the right tools and knowledge. This includes understanding how to build a Dutch oven fire pit. A well-constructed fire pit is the foundation of outdoor cooking, and we’re here to guide you through the supplies you’ll need to get started.
4 Materials Needed to Build a Fire Pit
Building a fire pit requires several essential materials:
1. Tinder and kindling
Tinder consists of highly flammable materials such as dry leaves, paper, and small twigs. These items ignite and burn quickly. On the other hand, kindling includes larger items like small branches or split wood pieces. Kindling feeds the fire once it’s ignited, helping it grow and develop into a sustained flame.
2. Fuel
Your primary fuel source for the fire pit will depend on your preferences and the resources available.
Charcoal offers steady heat, making it reliable for cooking or warmth. Meanwhile, firewood provides a natural ambiance with crackling sounds, but it must be dry and seasoned for efficient burning, as wet wood is hard to ignite and produces excess smoke.
3. Rocks
The fire pit or fire ring is constructed using rocks. These rocks serve several purposes: they act as a barrier to contain the flames for safety and define a designated area for your fire. You must use dry rocks for this purpose, as rocks containing moisture can crack or even explode when exposed to heat.
4. Firestarter
A firestarter is a crucial tool or substance used to ignite a fire. Various options, such as flint and steel, lighters, and matches, are available. Having a reliable firestarter on hand is wise, particularly in remote camping areas where the location may limit access to modern fire-starting equipment.
7 Tools Needed for Cooking with a Dutch Oven Over a Fire
When cooking with a Dutch oven over a fire, you need key tools and accessories to make the experience enjoyable and efficient. Here’s a list of the necessary equipment for successful cooking:
1. Cooking utensils
Some fundamental cooking utensils include a wooden or metal spoon, spatula, and ladle. These tools allow you to handle your food inside the Dutch oven without damaging the cast iron or the meals you’re preparing.
2. Lid lifter
When safely handling the heavy lid of your Dutch oven, especially when it’s hot from cooking over a fire, a crucial tool you’ll require is a lid lifter. This tool typically has a grip or hook that lets you lift the lid without getting too close to the intense heat.
3. Metal tongs
Metal tongs are incredibly useful for precisely manipulating and repositioning hot charcoal briquettes or embers on top of the Dutch oven’s lid. They provide precise control over adjusting the heat to achieve the ideal cooking temperature.
4. Small metal shovel
A small metal shovel proves invaluable for organizing and redistributing embers beneath the Dutch oven, particularly when using lump charcoal or campfire embers. This lets you maintain a consistent and steady heat, ensuring your food cooks perfectly.
5. Heat-resistant gloves
Investing in a pair of heat-resistant gloves designed for high-heat cooking is smart. These gloves provide excellent protection for your hands and forearms when handling the Dutch oven, whether using a lid lifter or lifting the pot.
6. Tripod (optional)
While not essential, a tripod can offer greater control over the intensity of the heat by allowing you to suspend the Dutch oven at various heights above the fire. This control is particularly useful for slow cooking and long simmers, making it an excellent addition to your outdoor cooking equipment.
7. Trivet (optional)
A trivet is a practical metal stand that fits snugly inside a Dutch oven, elevating your food just above the . This is particularly useful if you’re using the Dutch oven for baking as it mimics the indirect heating method of conventional ovens.
The trivet can also serve as a stand to keep your Dutch oven from touching the ground directly.
How to Build a Dutch Oven Fire Pit in 6 Steps
By following these instructions, you can construct a Dutch oven fire pit that is not only functional but also safe.
1. Select an ideal location
When choosing the location for your Dutch oven fire pit, exercise caution and consider factors such as safety, prevailing wind direction, and the proximity of combustible materials.
2. Clear the area
You can create a safe zone by eliminating flammable objects within a reasonable distance. Clear away grass, twigs, leaves, and firewood to establish a fire-safe area.
3. Dig a hole (or don’t!)
You have the option to dig a small pit for your fire, depending on your preferences and the surrounding area. This pit can provide more stability for your Dutch oven by containing the fire within its confines. If the environment is dry, don’t dig a hole as it may start an underground root fire.
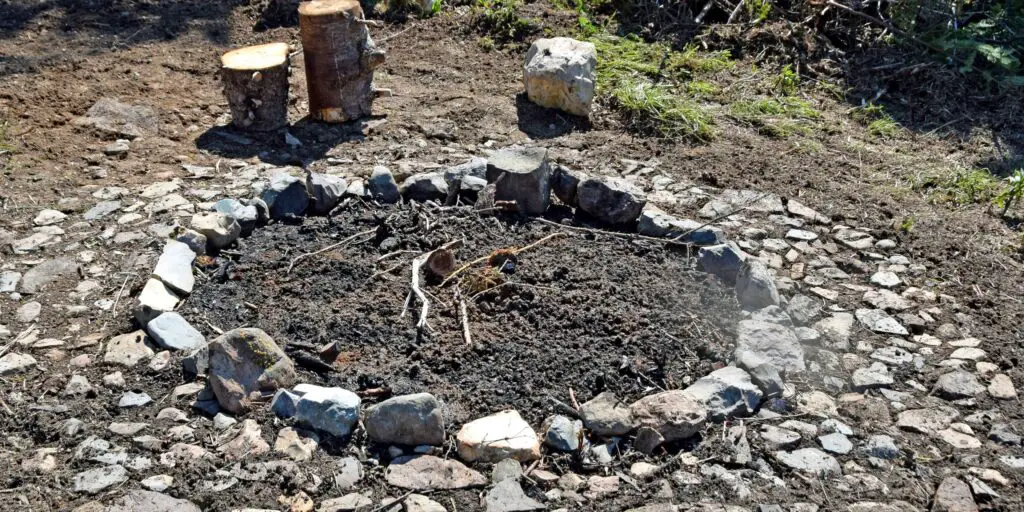
4. Circle the pit with rocks
To enhance safety and prevent the spread of the fire, construct a barrier of rocks around the fire pit. This will help contain the flames within the designated area.
5. Create your fire lay
You must select the appropriate fire lay based on your cooking requirements and the availability of firewood. Options include the teepee, star, lean-to, log cabin, parallel, or pyramid fire lays. Ensure you have the necessary kindling and fuel logs for your chosen fire lay.
6. Set up your tripod or trivet
If you’re using a tripod, ensure it’s firmly positioned above the fire pit. Then, check that your trivet is sturdy enough to support the weight of your Dutch oven. You can adjust the height of the tripod or trivet to suit your cooking requirements.
Safe and Savory Outdoor Cooking with Dutch Ovens
Safety should always be your utmost concern when creating and using a Dutch oven fire pit. Before you think about lighting a fire or setting up a fire pit at your campsite or outdoor cooking area, you must be well-informed and rigorously follow relevant rules and regulations.
These regulations are in place for good reason—to protect the environment and prevent the risk of wildfires—and it’s your responsibility to ensure complete adherence to them.
If you found this guide valuable, the Cult of Cast Iron offers more insights. Whether you’re seeking further advice on utilizing a cast iron Dutch oven or making the most of your favorite cookware in the kitchen, you’ll find the answers you need here!

Miguel is a cast iron enthusiast from Cavite, Philippines. He works in the digital marketing field as a content marketing strategist. On the side, he manages a small online bookstore and tends to his plants.