If you like making perfect grill marks or uniformly browned surfaces on fried food, a grill press will surely be an invaluable tool in your kitchen.
While this tool is quite straightforward to use, knowing the proper way to use a grill press can elevate your grilling game. This guide will walk you through the basics: what a grill press is used for, initial preparations, usage techniques, cleaning, and maintenance. By the end, you’ll be equipped to make the most out of this versatile kitchen tool.
What is a Grill Press Used For?
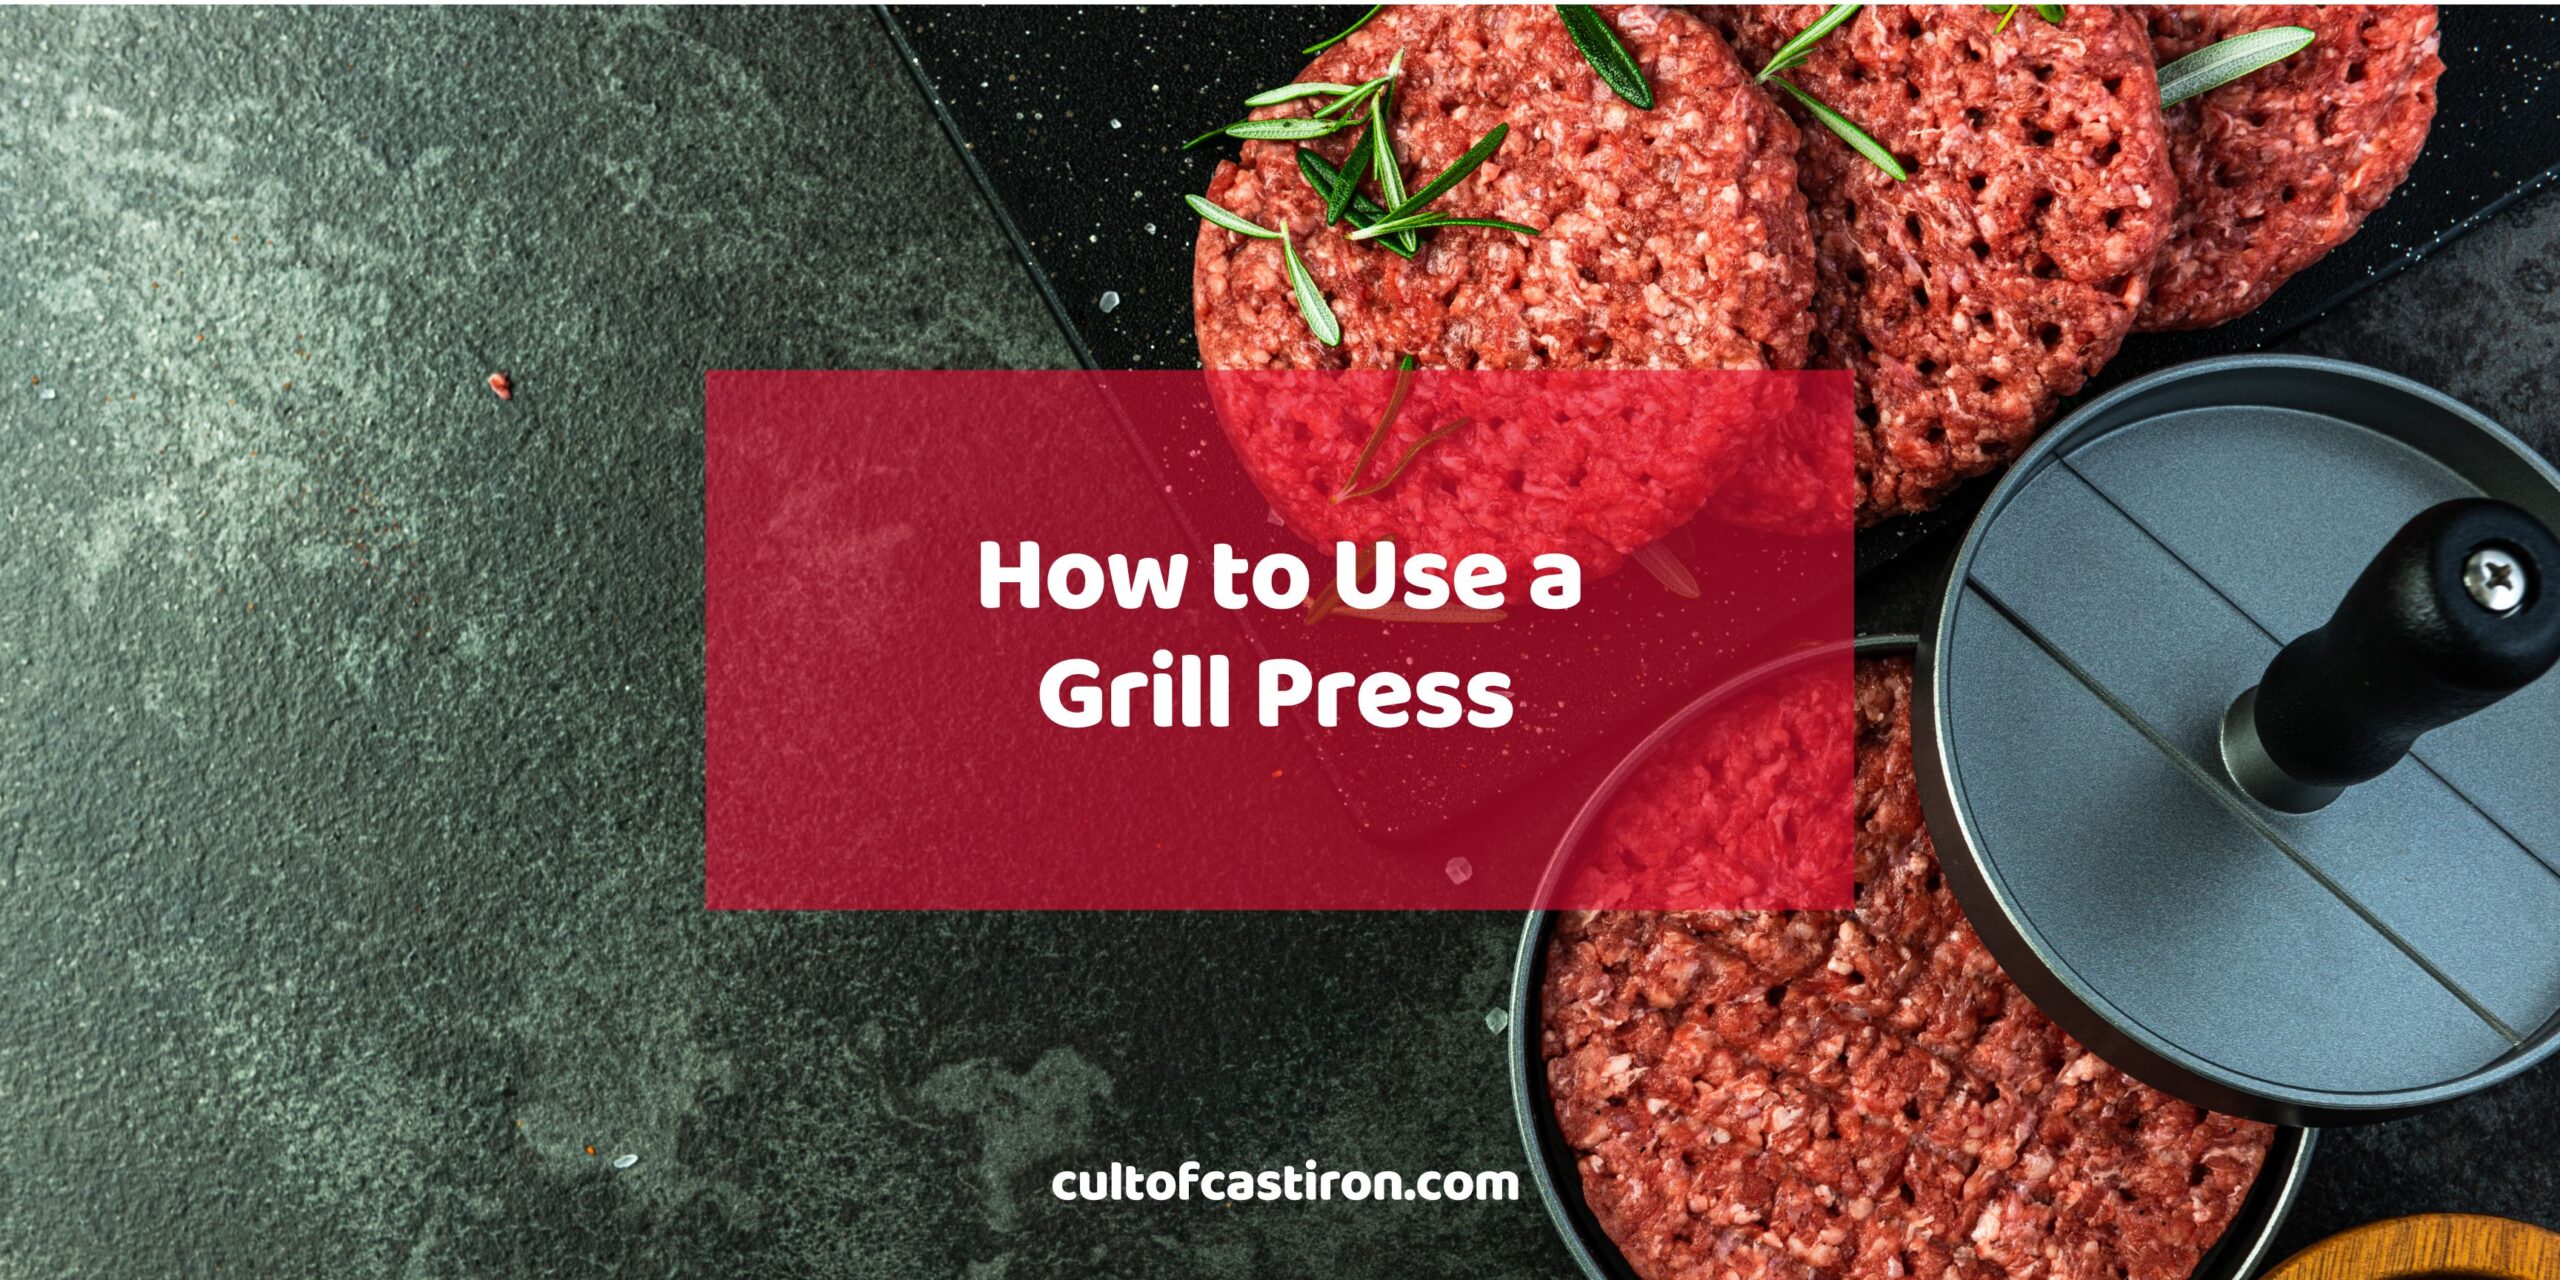
A grill press is a weighted tool with a ribbed underside that is used to apply pressure to food while cooking, to ensure that it is in direct contact with the heat source. This helps reduce cooking times, ensure even searing, and make aesthetically pleasing grill marks on food. It is also a great way to flatten bacon while cooking, make smash burgers, and press grilled sandwiches to make them better looking.
This tool goes by many names: meat press, bacon press, and steak weight. These are usually rectangular in shape and just large enough to accommodate one cut of steak. Larger formats are usually circular or square-shaped. however, they are often marketed as panini presses. Most are made out of heavy cast iron, though some may be made from lighter materials like stainless steel. Be that as it may, they still function the same way.
Keep in mind though that the weight of the press often pushes out more oil and liquids from your meats. That’s a good thing if you like to reduce the greasiness of your food, but it can also mean that your meats will be drier and less tasty should you use it. . Understanding these uses can significantly impact the quality and taste of your grilled dishes.
What to Do Before Using a Cast Iron Grill Press
Since we are a website about cast iron cookware, we will focus on this material instead of its stainless steel counterpart. While stainless steel is easier to maintain compared to cast iron, it is a lot lighter, which can limit its effectiveness in pressing stuff. Besides, cast iron is great for retaining heat, which is a vital aspect of using a grill press in the first place.
With all that said, here’s what to do before using a cast iron grill press for the first time.
Cleaning the Grill Press Before Use
Before its first use and between subsequent uses, cleaning your grill press is essential to ensure hygienic and effective cooking.
Start scrubbing the tool using a soft brush or sponge under warm and soapy water to remove dust and other contaminants on the surface. And yes, you heard us right: you can use soap (of the right kind) on cast iron. Next, rinse the tool thoroughly, then dry it with a towel. After that, you should put the grill press over the fire to help it dry completely. The press should be a little dull looking after this. From here, you can choose to season your new grill press, or apply oil to it and use it immediately afterward.
Seasoning a New Grill Press
Seasoning a new grill press is an optional step, as most pieces come pre-seasoned from the manufacturer. However, some cast iron aficionados love to strip away the factory seasoning as (1) its not durable (or so they say) or (2) they just like theirs better. Whichever is the case, it is totally your call. As for me, I choose not to strip away this seasoning and just build up from there.
Now, for the seasoning process itself.
Once the grill press is clean, coat the piece with a high-smoke point oil that you prefer. For me, that’s canola oil, but avocado oil, grapeseed oil, and sunflower oil are also great alternatives. From there, grab a clean towel and remove as much oil as you can – you only need a thin layer, and the amount you need is likely already stuck there.
Next, place the press in an oven that is preheated to a temperature that is slightly above its smoke point (use my article here about the different types of seasoning oils as a guide) for about an hour. Once it is cooled down, you should apply another layer of oil on its surface to protect it from rust, then you are good to go.
We barely scratched the surface regarding the seasoning process. Read our comprehensive cast iron seasoning guide here to learn more about this process.
How to Use a Cast Iron Grill Press
With your grill press now in good condition, you can now use it in your next grilling or frying session. Here’s how to do it:
How to preheat a grill press
Preheating a grill press is a crucial step in ensuring optimal cooking results. The process is straightforward but requires attention to detail for the best outcome. Start by placing your grill press on the grill while it’s still cold. As you turn on the grill and heat it to your desired cooking temperature, the press will heat up simultaneously, ensuring it reaches the correct temperature without overheating.
For outdoor grilling, the grill press should ideally sit on the grates for about 10-15 minutes as the grill preheats. The goal is for the press to reach the same temperature as the grill. You can test if the press is adequately preheated by sprinkling a few drops of water on it. If they sizzle and evaporate quickly, it’s ready to use.
If you’re using a stovetop and a grill pan, the same principle applies. Place the press on the pan as it heats. Medium heat is usually sufficient, as high heat can cause the press to become excessively hot, potentially burning the food. If it is too hot, simply place it away from the heat and let its temperature come down slowly.
Remember to handle the preheated press with care. Use heat-resistant gloves or a thick cloth to avoid burns. Preheating ensures that the press contributes to a uniform cooking process, enhancing flavors and textures by providing consistent heat from above, mirroring the grilling effect from below.
How to apply pressure on meats using the grill press
Applying the right amount of pressure on meats using a grill press is a critical aspect of achieving perfectly cooked, and still-juicy results. The process requires a balance – enough force to ensure good contact with the heat source, but not so much that the meat’s natural juices are squeezed out, leading to dryness.
When grilling thicker cuts of meat like steaks or pork chops, a moderate amount of pressure is key. After placing the meat on the grill, gently set the preheated grill press on top. The weight of the press itself often provides sufficient force. For meats with a higher fat content, such as burgers, the press can help render the fat more effectively, enhancing flavor and texture. However, avoid pressing down too hard or repeatedly, as this can cause the meat to lose its moisture and become tough.
For delicate meats like fish or chicken breasts, a lighter touch is essential. The press should simply ensure consistent contact with the grill without compressing the meat too much. This approach ensures even cooking and retains moisture, crucial for these leaner meats.
In all cases, the goal is to use the grill press as a tool for even cooking and perfect searing, rather than as a weight to flatten the meat. With practice, you’ll find the right balance of pressure that works for each type of meat, leading to succulent and perfectly grilled dishes every time.
How to create perfect grill marks using the grill press
Creating perfect grill marks on food using a grill press is both an art and a science, turning a simple meal into a visually appealing feast. The key lies in the combination of the right heat, pressure, and timing.
Begin by preheating your grill to a high temperature. High heat is crucial for searing the food quickly, creating well-defined grill marks. Simultaneously, preheat your grill press on the grill. A hot press ensures consistent contact between the food and the grill grates, which is essential for even mark formation.
Once the grill and press are hot, place your food (steaks, burgers, or vegetables) on the grill. Let it cook undisturbed for a couple of minutes. This initial sear sets the first set of grill marks. After this sear, lift the food with tongs and rotate it 45 degrees before placing it back on the grill. This rotation is critical for achieving that classic, crosshatch pattern.
Now, place the preheated grill press on top. The press applies uniform pressure, ensuring the entire surface of the food makes contact with the grill grates, deepening the grill marks. Cook for another few minutes, then flip and repeat the process on the other side.
Remember, the goal is to move the food as little as possible, other than the single rotation, to maintain distinct, uniform grill marks. The result will be a visually stunning and deliciously seared dish that is sure to impress.
How to Clean and a Grill Press After Use
Cleaning your grill press correctly after use is essential, especially for cast iron.
For the most part, you can revisit the “Cleaning the Grill Press Before Use” section from earlier. However, more vigorous cleaning is required, especially if there is an inordinate amount of stuck on food on the surface of your grill press.
To clean the grill press, scrub the surface with a stiff brush and warm water. As discussed earlier, you can use a mild soap to clean the grill press. You can sprinkle some salt on stubborn burnt food to help it come loose. If that did not solve it, you can try submerging the surface of the press under warm water to loosen up these stains. After that scrubbing it down will be much easier.
Once everything is rinsed off, dry the press thoroughly to prevent rust. You can place it over the embers of your grill to help it become bone dry. From there, you should rub some oil on the surface to protect it from rust during storage.
Conclusion
it’s worth noting that the use of a grill press extends beyond mere functionality; it represents a commitment to excellence in cooking. This tool, when used correctly, can elevate simple ingredients into culinary masterpieces.
As you continue to explore and refine your grilling skills, let the grill press be a trusted ally in your quest for perfectly cooked meals. The nuances of pressure, heat, and timing are all elements that you have to practice to get the perfect results each time. May each use of your grill press not only enhance your dishes but also deepen your appreciation for the art of grilling.
To learn more about cooking with cast iron, check out Cult of Cast Iron! Scroll through our blog dedicated to all things cast iron and find helpful tips and tricks to level up your cast iron skills! Discover a whole new world of cooking and spread the Cult of Cast Iron word today!

Miguel is a cast iron enthusiast from Cavite, Philippines. He works in the digital marketing field as a content marketing strategist. On the side, he manages a small online bookstore and tends to his plants.